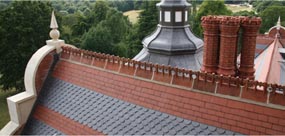
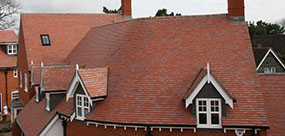
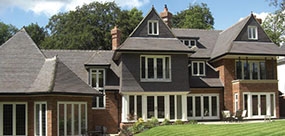
Valley tiles on a plain clay tile roof
 Valley with valley tiles
Dreadnought valley tiles are made to course with plain tiles in standard pitches for 35, 40, 45 and 50 degree roofs and can be made as specials for other pitches. It is important to state the roof pitch at the time of ordering.
The roof pitches should be equal on both sides of the valley, but if they are up to 5 degrees different, valley tiles can still be used but the battens need to be laid out slightly differently on either side. Click here for more info on valley tiles with unequal pitches.
Ensure that continuous support is provided for ends of tiling battens on each side of valley.
Cover valley with a strip of underlay not less than 600mm wide underlapping general underlay.
Cut adjacent tiles and tile-and-a-half tiles so that valley tiles course in and fit neatly.
Note that it is not necessary to mechanically fix the valley tiles.
 Valley with metal soakers
Ensure that continuous support is provided for ends of tiling battens on each side of valley.
Cover valley with a strip of underlay not less than 600mm wide underlapping general underlay.
Cut tile-and-a-half tiles and fix to form a straight, weathertight, close mitred junction.
Interleave mitred tiles with metal soakers, extending a minimum 150mm to each side of valley. Fix soakers by turning down over heads of mitred tiles.

Valley with metal lining
Ensure that valley boards, plywood sheathing and tilting fillets provide full support for metal valley.
Cut underlay to rake and dress over tilting fillets to lap onto metal valley. Ensure that underlay is not laid under metal.
Cut tile-and-a-half tiles neatly and fix to form a gap minimum 125mm wide centred on valley. Either lay tiles dry or bed on mortar onto fibre cement undercloaks laid loose on each side of valley, ensuring a minimum 25mm gap between mortar and the tilt fillet.
Note: To avoid the problems associated with open valleys the use of purpose made valley tiles should be encouraged wherever possible.
Download dwg file

Valley with preformed grp valley
Ensure that valley boards provide full support for GRP valley. Some types of GRP valleys do not require valley boards – check with valley manufacturer.
Lay underlay as recommended by valley manufacturer.
Fit valley as recommended by valley manufacturer. The valley should secured to counterbattens by at least one nail every 400mm.
Cut tile-and-a-half tiles neatly and fix to form a gap minimum 125mm wide centred on valley.
Either lay dry or bed on mortar onto GRP valley.
Note: To avoid the problems associated with open valleys the use of purpose made valley tiles should be encouraged wherever possible. Download dwg file


-A.jpg)


