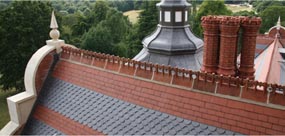
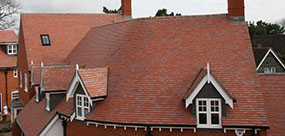
Verges and Winchester cutting for clay roof tiles
The following illustrations and text explain the common main tile design details that can occur on refurbishment and new work with verge and Winchester cutting
Setting out vertical tiling to gable ends
 Mark out the gable end wall so that tiling is fixed to exact half bond and commenced so as to avoid a joint above a joint when finishing at the apex.
The finish at the apex is best achieved using a shaped piece of tile which is both mechanically fixed and spot bedded.
Vertical tiling junction with roof verge
Use tile-and-a-half tiles in each course of tiling, neatly cut to fit close to the undercloak/soffit.
Where possible, a second nail hole should be drilled or a slot formed with a cutting disk as shown on the drawing.
Vertical tiling junction with roof verge - Winchester cutting V1
 Form the end under-eaves tile from a tile-and-a-half tile to provide extra width.
Use tile-and-a-half tiles in each course of tiling. All cut tiles abutting the undercloak/soffit should be of identical shape and size to give uniformity. (See table for correct angle of cut)
The second cut tile in each course will vary in size and tile-and-a-half tiles should be used as necessary to avoid narrow cuts.
Use lead soakers, minimum 200 x 200mm, where side laps are less than 55mm.
(An alternative method is to have the cut edge of the first tile-and-a-half tile adjacent to the next tile; ie so that the vertical tiling meets the undercloak/soffit at 90 degrees)
Vertical tiling junction with roof verge - Winchester cutting V2

Form the end under-eaves tile from a tile-and-a-half tile to provide extra width.
All cut tiles abutting the undercloak/soffit should be of identical shape and size to give uniformity. (See table for correct angle of cut)
The second cut tile in each course will vary in size and tile-and-a-half tiles should be used as necessary to avoid narrow cuts.
Use lead soakers, minimum 200 x 200mm, where side laps are less than 55mm.


-A.jpg)


